DJ-Interactive Visuals technical writeup (JC Juvenes)
We were asked to do a 2-part audiovisual installation for a party. One part was themed “the 60’s”, the other was themed “the future”. The first theme was relatively easy: a collection of visuals from typical 60’s themes. The future on the other hand, was a bit more complicated. We opted for movement-reactive visuals to create an immersive experience for the viewer where DJ, audio and visuals became one harmonic – instead of the usual VJ set with visuals that tells mostly another story then the one the dj is trying to tell. This article describes the setup and technical challenges we faced for “the future” part of the show.
Our goals were:
- Create visuals that react and interact with the DJ
- Visuals should be aligned to the dj from the party-peoples viewpoint (calibration)
- Audio-reactive (bpm and phase aware)
- creating the actual effects
- Semi-automatic or standalone system: integration with resolume or other vj software
- Remote control
Given the goals above, we decided to go for a custom-made openframeworks app, running on OSX and returning output via Syphon to Resolume. The controller can be an OSC remote control app running on iPad or iPod.
The location and basic setup
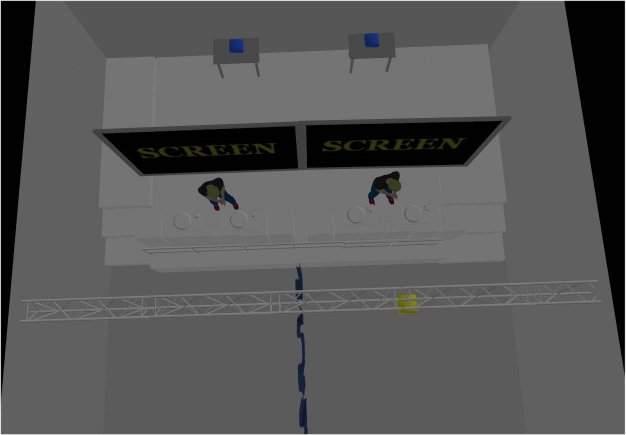
The location was divided into 2 area’s. On the left side, there would be 60’s, on the right side there would be future. Each half hour, the dj would switch positions, hoping the audience would follow. The following image shows how we imagined the gig:
This image shows our setup. The yellow box is the kinect, located about 1 meter above the dj’s head and 2 meters in front. The blue boxes are shortthrow projectors.
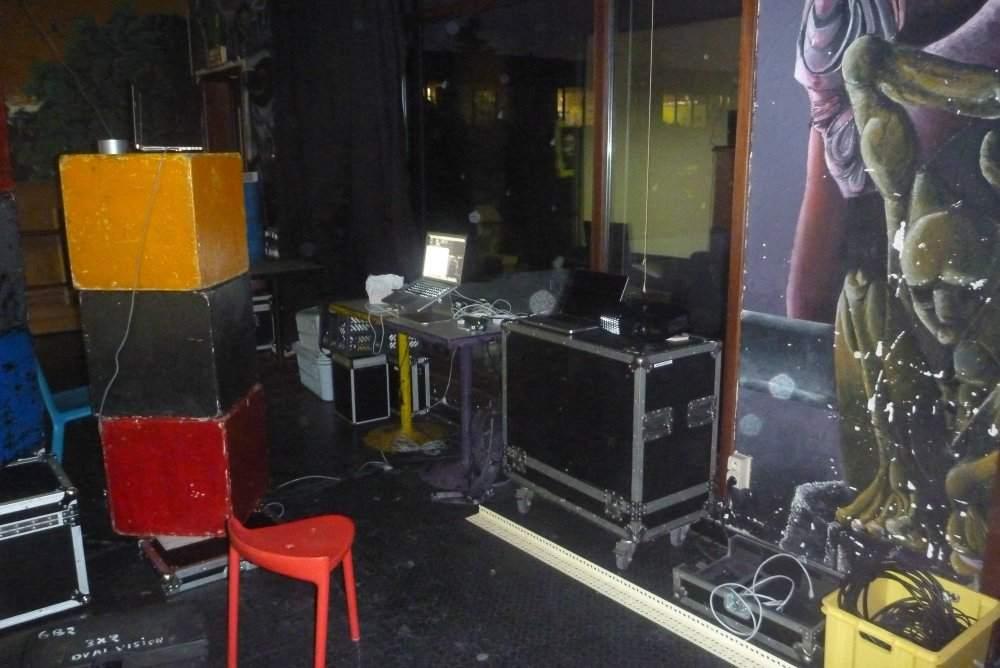
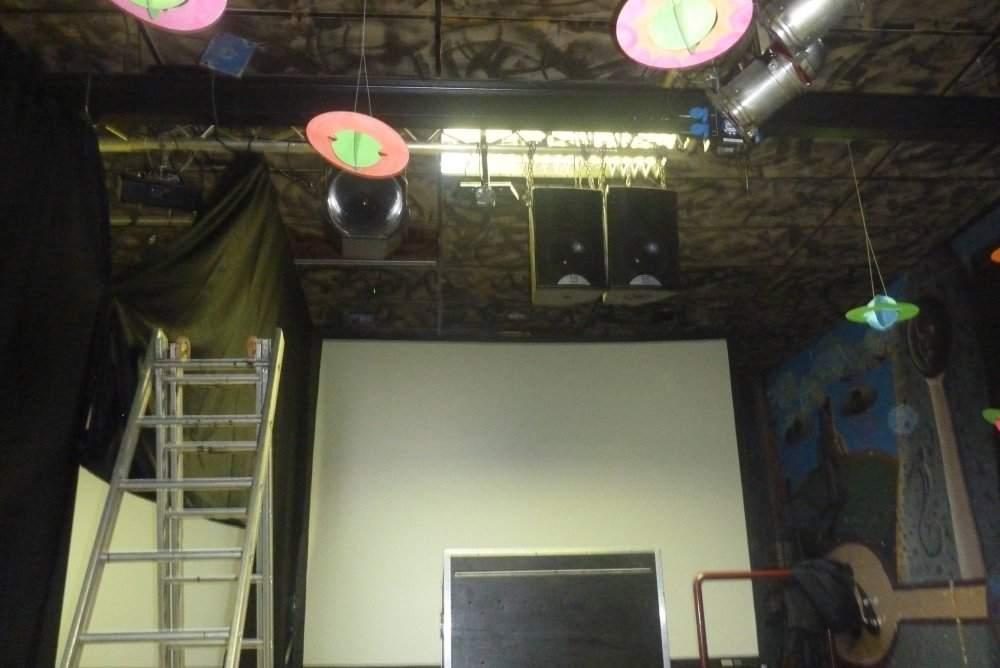
Eventually the backstage looked kinda as this:
and the front side, with the kinect in the top middle:
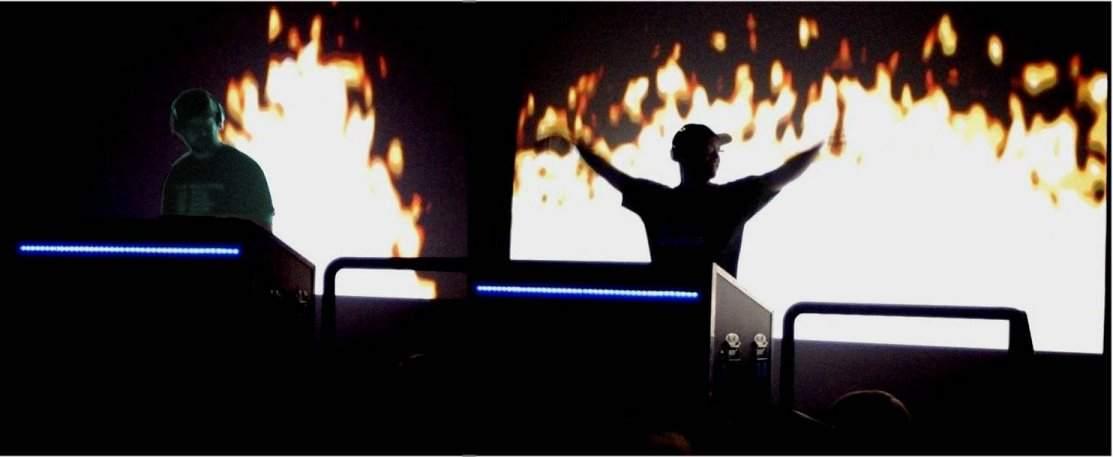
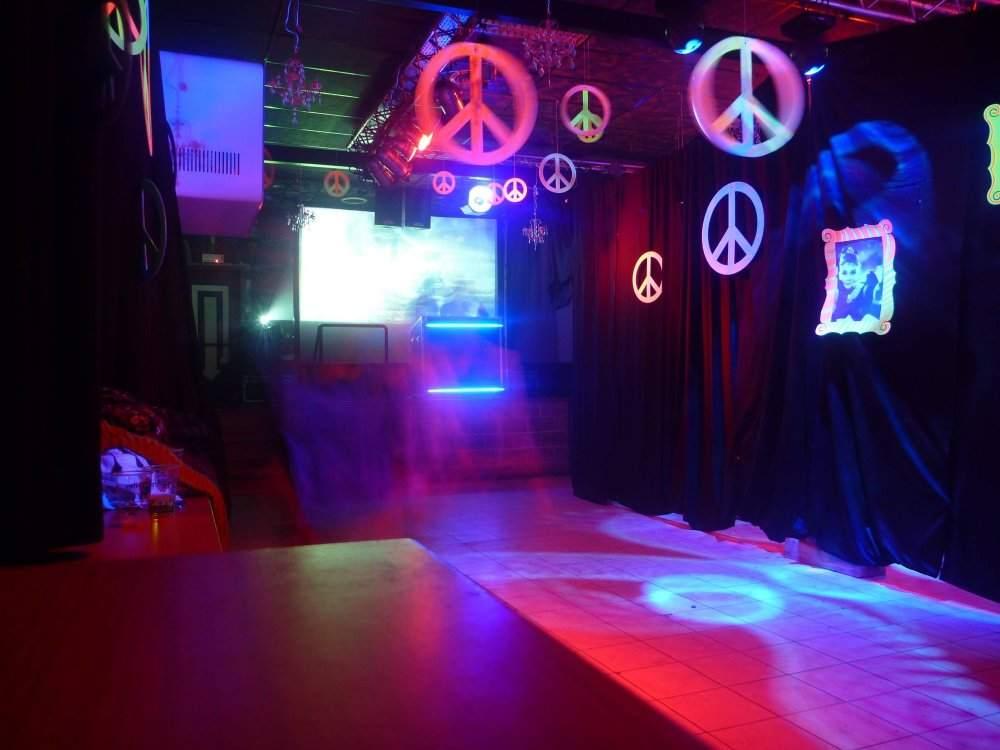
Dont panic, I know it looks a mess but at the end result was actually pretty nice thanks to all the folks in the youth centre. This is an image of the 60’s side again at the very beginning of the gig:
So that’s the venue and our setup, now on the the technical stuff!
Setup scheme
It started very simple at first. Then there came a max patch. Then another computer. Then realtime audio input. Then wifi + ipods. Then resolume.
We ended up with this:
First, movement reactive.
The kinect is the obvious choice here: it gives subjects contours and skeleton points, more than enough to go on. However, the environment was not that kinect-friendly. First tests showed that stage lights (PAR’s) emit to much infrared for the kinect to work properly. Throw out the pars and bring on LED’s! Second, fog and smoke needed to be at minimum levels, to avoid camera occlusion. Third, the Kinect could not be positioned optimally: it was 1m above the dj and 2 meters in front, with an angle adjustment of -27°. The biggest problem however was that about two thirds of the dj’s body were hidden behind the dj booth, so the kinect could not accuratly track the dj’s position and skeleton.
This was difficult to deal with: the openNI drivers failed miserably here. The dj would have to be lifted or the booth lowered; both impossible or unpractical. Fortunately, the Microsoft drivers (1.6 SDK) feature seated mode: only tracking the upper part of the body by analyzing movement instead of the usual tracking by looking for human-like contours. Big hit on the CPU though. The tests were fruitful: once the dj moved enough, we could perfectly track the head & arms. There was a downside: the drivers were only available on Windows, and our framework needs Syphon so was build on OSX.
So, I build a kinect streamer in C# : a real-time skeleton tracker + depth image streamer on windows that sends the depth frames & skeleton points with as little delay as possible over network. Uncompressed frames, as we had little time nor experience with video/image encoding. Skeleton data was send using OSC messages. For the video frames, a short calculation showed a 320×240 video at 30 fps with 1 byte per pixel needed 20 mbit. I placed the upper limit there because there would be a lot of osc communication going on and I wouldn’t want to congest the network & lose OSC skeleton packets. But the depth frame did not include user information: so it did not indicate which pixels belonged to what skeleton. So I defined a new type of frame: depth + silhouette information; in 1 byte. The encoding looked like this:
2 bits for the user ID implied that I could assign each pixel to one for 4 id’s.
- 00 = no user
- 01 = primary user (skeleton 1)
- 10 = secondary user (skeleton 2)
- 11 = other users (no skeleton tracking)
6 bits for depth image gave us 64 depth values to work with. The kinect originally gives about 1024 depth values. So I rescaled our area of interest (dj booth -> screen) to 64 values. This was about 1.2 meters, so each depth value represented about 2 cm, which was sufficient.
Such a frame was decoded in our openframeworks app into two separate images: the depth image (regular grayscale image) and the ‘label’ image (color image). The openframeworks app ran on OSX, the kinect streamer works on windows. Both computers were connected with a straight ethernet cable, and given static ip’s for ease of use. It worked quite well, and simultaneous UDP transmissions were not hindered by the streaming. Multithreading issues made my head explode.
But in the end, it worked, it was fast, and stable. One app crashing did not crash the other, and boot times of the OSX app were cut very short cus it didn’t have to load the kinect drivers and framework. Furthermore, the kinect processing was not done anymore on the main OSX computer, making room for more cpu cycles for the final effects (the kinect uses quite a bit of cpu time and memory)!
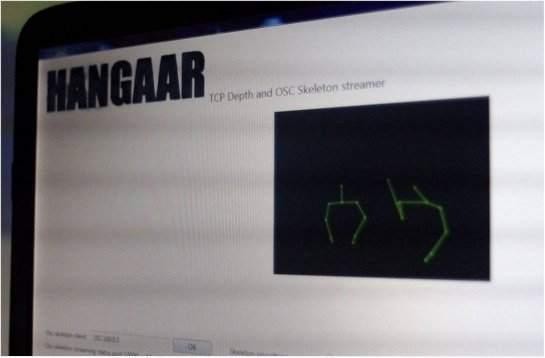
Some pictures of the streamer in action, here in seated mode:
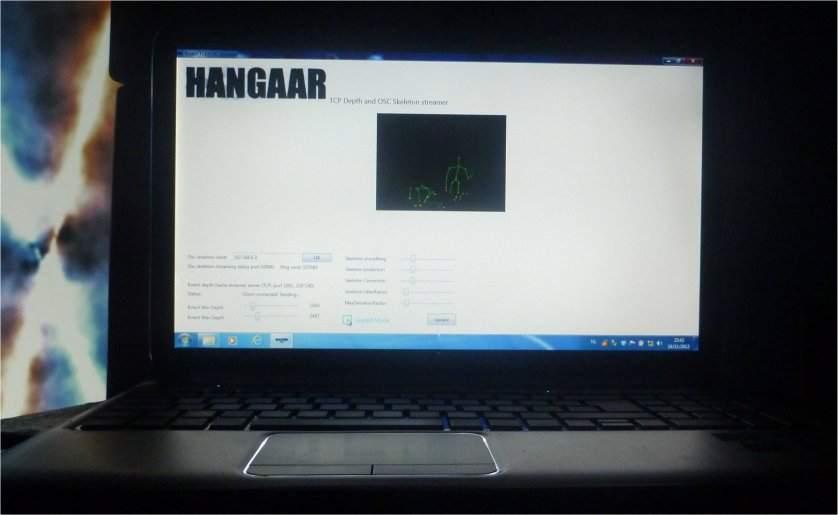
Regular mode:
While some part of the skeleton could be tracked now and then in the regular standing mode, most part was jibberish.
Second: kinect-projector calibration.
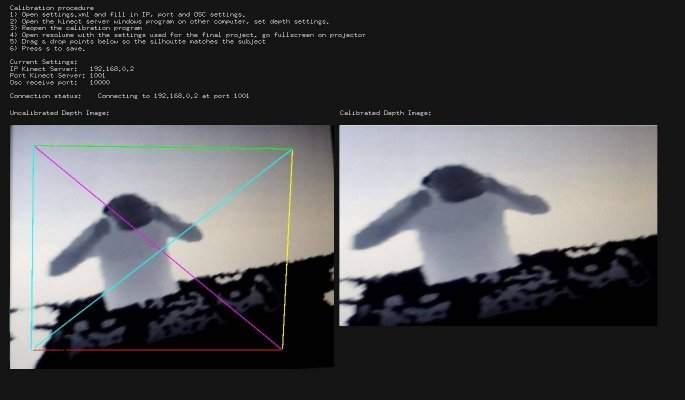
Making effects that align with the dj’s pose requires projector-kinect calibration. There are lots of tactics available, eg the chessboard techniques for RGBD camera’s, but I couldn’t get it to work (yet!). Basically what I wanted was that if I projected the contour of the dj, it should align good from the viewpoint of the audience. I made a small stupid calibration program, where you could drag the 4 edges of the kinect images so they matched the dj on the actual output. Put together with the openCV’s wrapIntoMe functionality and the ofxQuadWrap addon I could stretch the reconstructed label and depth images so they matched perfectly. The same goes for the skeleton points. So, for the effect programming, if I got the head coordinates, I knew they matched with the actual head position from the viewpoint. The wrapping does work when dj remains at one place (he could move 1 meter to the sides and a bit back/forward without too much misalignment). The calibration points were saved to an xml file and loaded in the main effects app.
Simple, and fixed! Yes, its trial and error, quick & dirty, but hey, it works! I’m still looking for better solutions though. This is screenshot of the idea, but its captured afterwards with some depth image to show the principle.
Third: Audio-reactive
I didn’t want to continuously “tap bpm” to get audio-synced visuals. I didn’t want to manually sync resolume to our app and to the music. There is a simple app that analyses line-in output and sends out a synchronised midi clock: Wavetick. This works awesome but costs quite a bit for a one-off, and tests shown that dubstep and the like were not its favorite genres for beat tracking. On windows, the Audioboxbaby had the same functionality. However it was free, but otherwise had the same issues. Phase sync was lost regularly, and dubstep had no good results.
So, let’s do this ourselves I thought. Thanks to Max MSP and some amazing free externals this was more easy than first thought. The btrack~ object tracks audio nicely and sends out a bang each beat. Then we have the sync~ object that synchronizes a midi clock to this. Using the OSX internal midi loopback, I could easily sync resolume to the beats. The same information was send to our app using OSC. The loudness~ external calculated the actual loudness of the sound, and sent that over osc as a 0->1 parameter. So our effects had as input: beat nr, bar nr, loudness and bpm.
Wow, that was easy. Add two buttons “resync” and “pause/continue”, and we’re done! A db threshold was implemented to automatically pause and continue on silent parts. This is the Max Patch:
4: Semi-automatic or standalone system: integration with resolume or other vj software
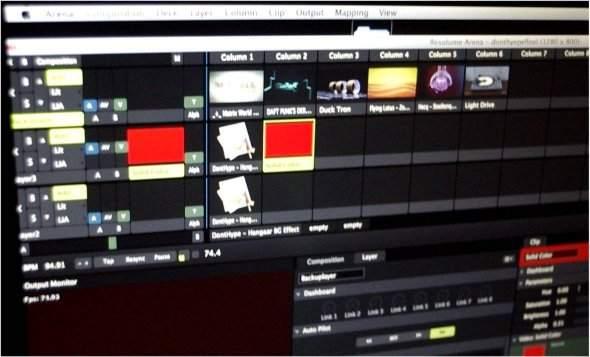
As this was known beforehand, we opted for OSX + Openframeworks + syphon. Instead of programming the transitions manually, we rendered 2 effects real-time and send them via 2 distinct syphon servers to resolume. This opened up options to add additional effects in resolume, a nice plus! Also a backup track was added in case things crashed, reverting to our beloved Beeple visuals :) There was a button “panic mode” (see later) for this. So we had all our real-time rendered effects, and the power of resolume. Awesome!
The top layer is our “panic” layer. If something goes wrong, the opacity is set to the max and a random clip is played. Always handy to have some immediate backup ready. The actual backup clips were, unlike in this image, creative commons beeple clips.
The second layer was our first syphon input, the third layer the second input. They both have 5 extra bpm synced effects, controllable by the dj’s guestures. Also the opacity was controlled using osc commands, so only the last selected effect would be visible.
5: Remote control
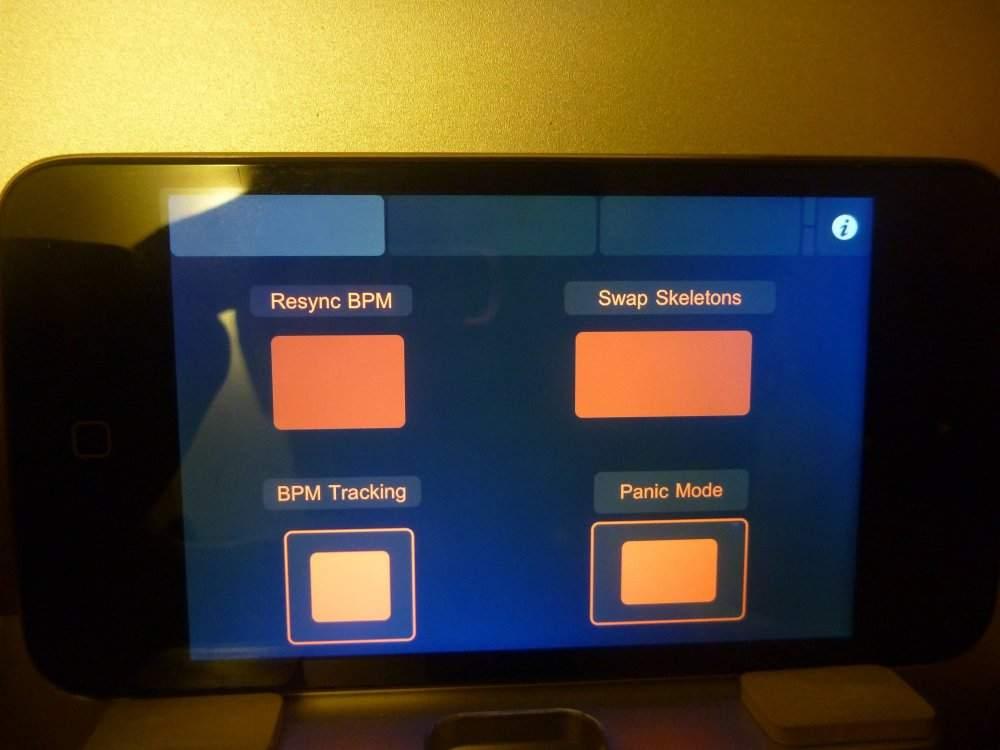
Now who’s gonna VJ the whole evening? Sitting back in a corner with some midi controller, or worse, a mouse and keyboard, no thanks. TouchOSC & MaxMSP (again) to the rescue! I implemented several functions using osc commands:
- panic mode: in case something goes wrong, fallback to another track in resolume
- swap skeletons: when more than 1 dj is present, switch the main skeleton on which the effect is based
- resync bpm: reset beat/bar counter to 1.1 in both effect renderer and resolume, handy when beat/bar counter is off,
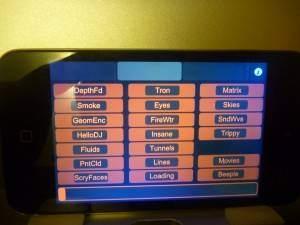
- effect selection: select an effect; start rendering simultaneous with current, cross fade in resolume, stop old effect, open slot.
- Preset intensity: slide between presets for currently active effect
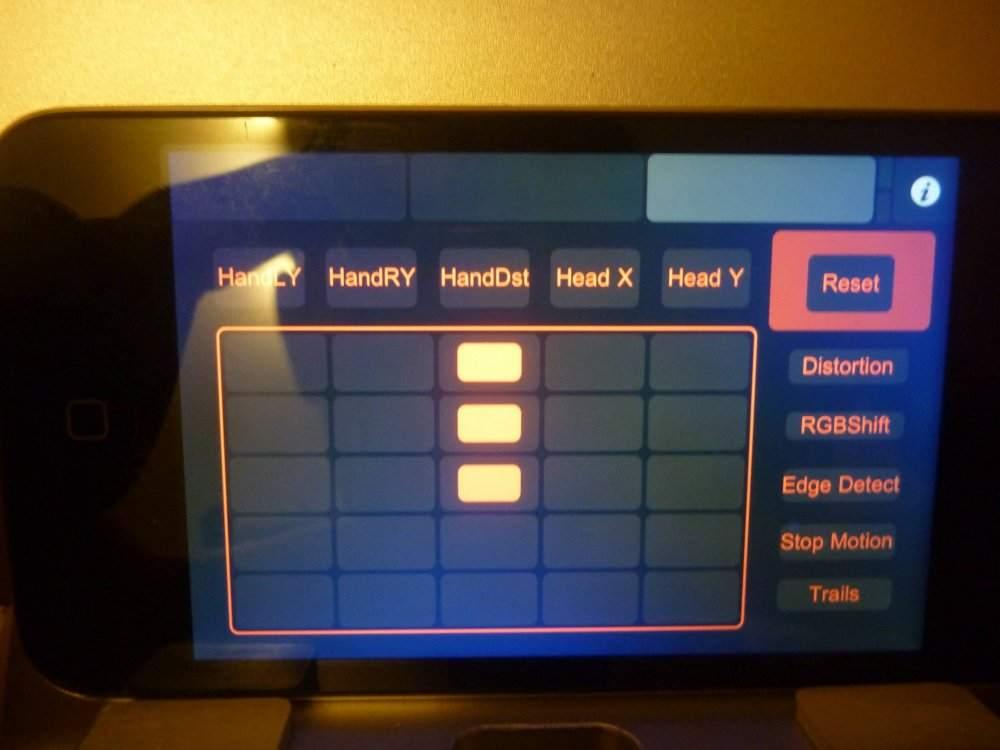
- manual resolume effect mapping : 5×5 matrix where we could map hand position, hand distance, head X, head Y and total movement to 5 effects in resolume, on all layers
So euhm, this is the max patch. Max users will recognise this :) Left is the main patch, right is the matrix mapping for additional resolume effects. There are filters and smoothers, somewhere.
So now I could be in the audience and control the visuals with my iPod & touch OSC!
And in action:
At this moment I lost track of the amount of OSC, midi & tcp connections back and forth all parts of the program:
- 2 ipods input (and output, as they had to be synced) over wifi
- interactive projection -> max (calibrated skeleton)
- max -> resolume (calibrated skeleton matrix effects or whatever I should call this)
- Max -> interactive projection: preset selections and stuff
- Max -> Interactive projection: audio data
- Kinect streamer -> interactive projection: skeleton data
- kinect streamer -> interactive projection: depth stream @ 20 MBit/s
- max -> resolume: midi data
- ipod -> resolume: direct panic button override
This was becoming a mess, and I’m still surprised I could boot the whole setup with 4 clicks in total :D Anyway, the remote control mapping was done only half a day before the actual gig (hum) so this mess was to be expected. Loved it!
Creating the actual effects
Okay, so now we got all components linked and working nicely together. Time for the effects! They were all done beforehand as seperate openframework sketches. Openframework users will probably recognise some of them, such as the MSAFluids or ofxFX smoke. But, suffice to say we’ve made an c++ interface for each effect, doing most of the integration part in the framework. Each effect had only two methods in real ninja openframeworks style: update() and draw()! So once the framework was finished, I could really focus on the effects. Unfourtunatly, time ran out and I didn’t get anywhere near I wanted in terms of amount of effects.
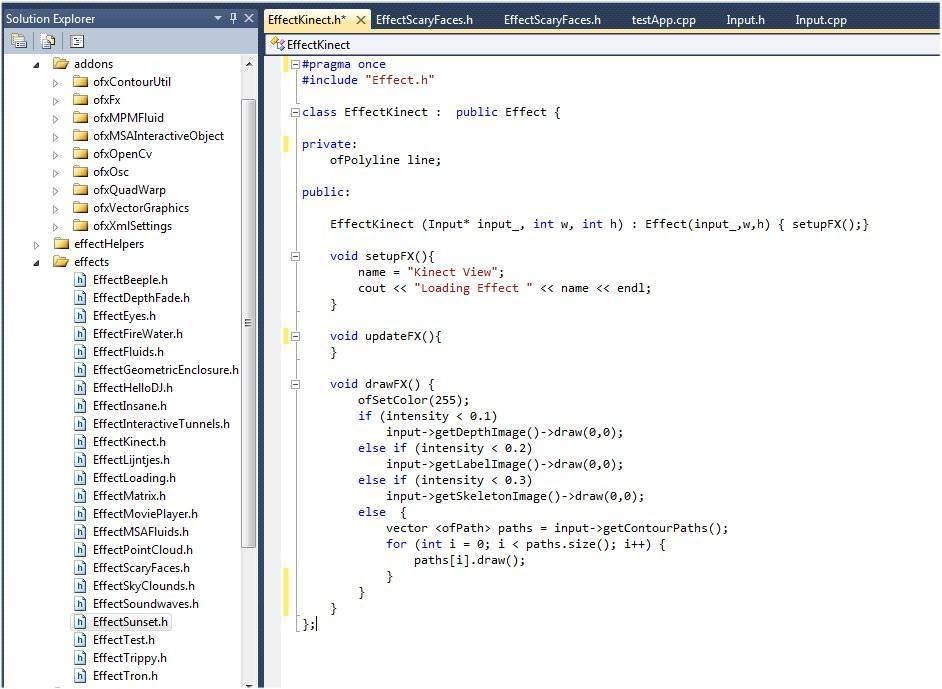
From inside each effect, you could easily get the amount of users, their calibrated silhoutte, head position or hand distance, audio features such as BPM, kinect stream, etc. The simplest of effects was just to show the calibrated kinect streams, of which the code is shown below. Because of the alignment, this was surprisingly a very good effect – especially in combition with the resolume effects such as rgbsplit or distort!
Okay, thats about it for this article. I guess now you’ll understand the following scheme better:
Thanks to…
- The amazing openframeworks community
- GSGL sandox and its insane shadermaker folks
- Makers of the following plugins: ofxFx, ofxContourUtil, ofxMPMFluid, ofxQuadWarp, ofxLightning, …
- Beeple for some awesome backup footage
- Kyle McDonald for the point cloud example like two years ago and the DOF shaders
- Lab101 for the tron effect
- benMcChesney for the VJ examples
- The volunteers & personel at the youthhouse/venue for helping us out with a lot of logistics
- Jarich van Wesemael for all the help
Software downloads
I’ve gotten lots of feedback, help, sources and ideas from the opensource community. We want to make some stuff created here open source, once it got cleaned out. This will happen in the coming months, when fixing the current bugs for our next demonstration. This is what we plan to opensource:
- Kinect Streamer on Windows (full compressed RGB Stream) + counterpart receiver in openframeworks. This will help a lot of people trying to use the kinect features of the MS SDK (facetracking, seated mode, etc) on mac.
- Beattracker & audio analyser. While searching for this, I noticed some expensive programs for this. This one does the same and is free – but it might not always perform as good or as simple as commerical applications
- Effects gotten from other sources (eg converted gsgl sandox shaders made interactive and audioreactive)
- Maybe the calibration tool and effect framework. But this is soooo unuserfriendly that my old teachers would probably try to kill themselfs while using it.
